sunnuntai 28. helmikuuta 2016

❤️First Impression/ Review: {Etude House} Berry Delicious spring collection; Fantastic Color Eyes (Strawberry Fondue)❤️

Hi! Today I am doing a first impression on the new Etude House Fantastic color eyes eye shadow palette in Strawberry fondue. The palette arrived a few days ago and I have used it once and I am pretty happy with it. The shadows are not very pigmented but I kind of like the softness they have.


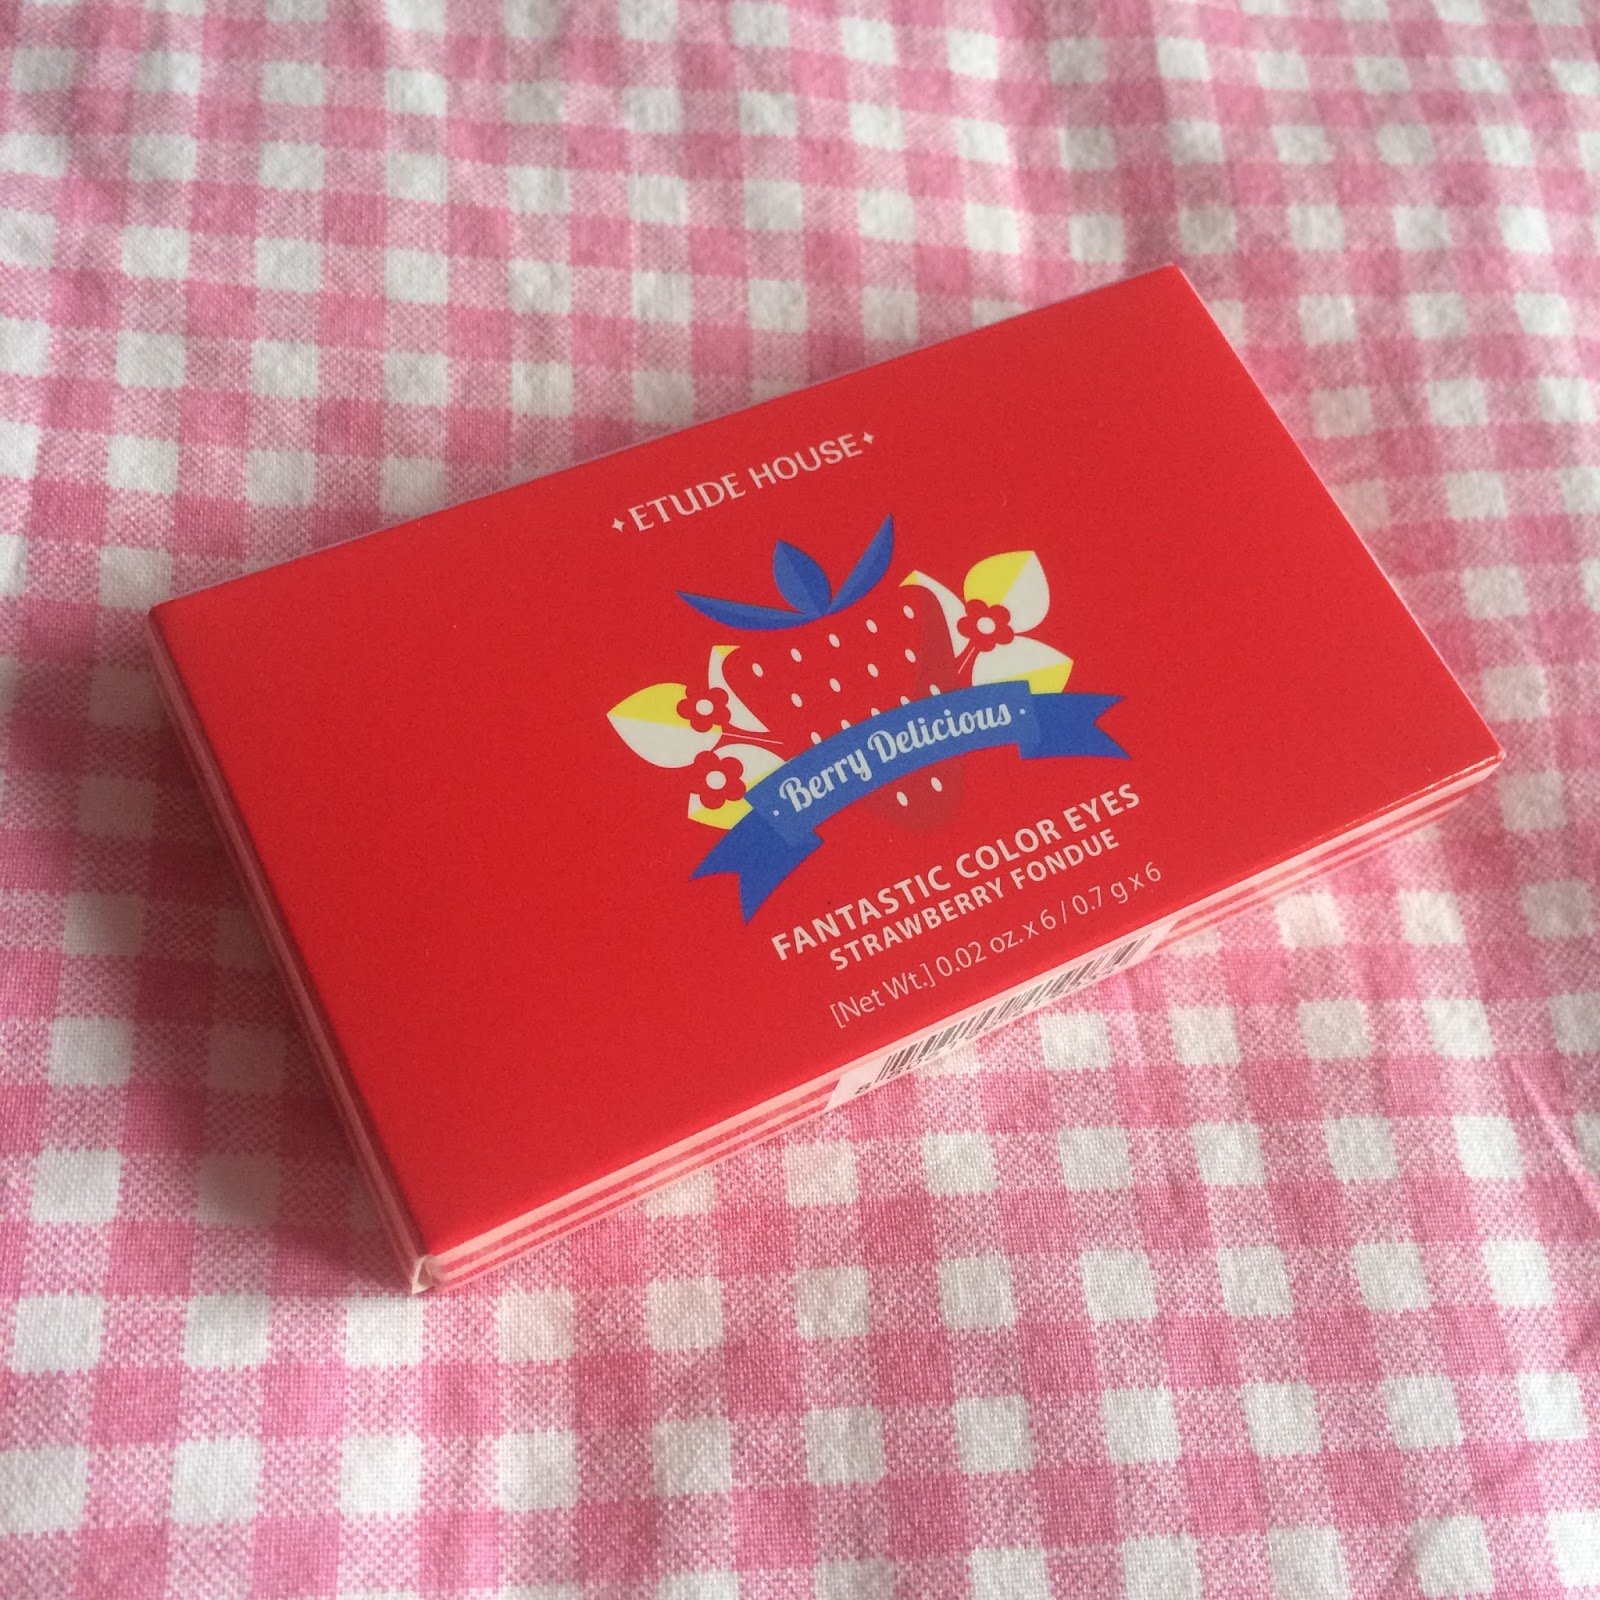
The box and the packaging of the eye shadow itself is once again very cute. really like the strawberry theme. The only thing is that the palette is extremely small. You can't really tell by the pictures but it is only 5x9 cm. The palette comes with 6 eye shadow shades two matte , two shimmering and two glittery shades.
From left to right: Hazelnut Chocolate, Berry Milk Chocolate, Sugary Butter, Cheese Berry, Fresh Strawberry and Dip! Dip!
It also comes with a typical applicator.
Here swatches of the shades. Sugary butter is actually a very pretty shimmery shade but the camera doesn't really pick it up
The colors are not very pigmented and I had to press pretty hard to get the swatches. The pans are also very small so the palette does not contain much product. But the shadows do feel very nice and soft and they are easy to blend.I would ofcourse recommend using a primer!


Pros: 
+ Small, so it is easy to travel with
+ Really pretty shades 
+ Cute and sturdy packaging
+ Soft and easy to blend colors
+ Comes with a big mirror inside
Cons:
- Small so you don't get much product
- Two of the colors are very similar
- Not very pigmented
- Got some fallout with the glitter shades 

I give it 3/5 just because I do own better eye shadow palettes ❤️❤️❤️

So what do I think in conclusion?
I think this palette is really great for someone who loves pink shades and needs a more travel friendly palette (Not like the naked 3 palette). It is also very good for someone who is a beginner on makeup and doesn't have much money to use on more expensive eye shadows. Me myself I am pretty happy with it  and I will continue on using it. Don't forget using a primer underneath!! I really want to test out other products from this spring collection.

I also made an eye shadow tutorial using this palette! Check it out! (sorry for my english)

Here a picture of me using the shadows.
Ps. Sorry so much for my absence, I have had a lot of stuff lately but I promise continuing on making consistent reviews again!! 


sunnuntai 7. helmikuuta 2016

❤️Review: {Too Cool For School} Milk Tint (No.1 Milky pink)❤️

Hi! Now after the cosplay posts I am doing my review~ btw I make a new review every Sunday❤️
Today I am reviewing a lip tint that reminds me a lot of the etude house fresh cherry tint. It is the Too Cool For School milk tint. This is also one of my faves~

This tint has a very nice smell like strawberry candy or something like that.

The package it comes in is so cute. It looks like a milk carton.
The applicator is a common one.

There comes 9.5 g of product that is a tiny bit more than on the cherry tint (9 g) This was about 6 euros on cosmetic-love.com.


 Some swatches. The top picture was right away after I swatched on the back  of my hand and the next picture is after a few minutes. As you can see the colour darkens a little. First I was worried that this would not show up on my lips but as it darkens it becomes a very pretty natural pink.
On my lips. Looks very natural and gives some life to my pale lips.
I really really love this tint. I have been using it every day lately. The only thing about this is that it kind of numbs your lips a little... but it goes away right away.(?) The other thing is that even thought it darkens a little I am not sure if it will show up on darker lips. My lips are very very pale. This also lasts for a long time and is easy to apply.❤️

Conclusion:
Pros:
+ Nice price (specially if there is a discount)
+ Very easy to use
+ Long lasting
+ Nice smell
+ Cute packaging
+ Lovely colour/s
Cons:
- Strange numbing sensation for a second

I give it 5/5 hearts ❤️❤️❤️❤️❤️

Would I buy it again!
Yes, I want to try the lilac shade❤️

Ps. I just bought the new eyeshadow palette from etude house on strawberry fudge. Making a first impression when I get it!❤️

❤️Quidditch cape/dress patterns + close up pictures❤️

Continuing on the quidditch cosplay stuff, I was asked about the patterns for the cape thing so here I go~ The pictures are not the best but I hope someone still finds this helpful. I am 160cm tall and about a size 38❤️


The tail part  I made from scratch but this is what I came up with, feel free to further edit the patterns.
The tail part, you need 4 of these 2 of each color (on my case 2 reds and 2 golden)
 The top part of the cape I took from a textile magazine. It was from a basic sweater, I just modified the back a bit. As you can see this is half of one peace. You just fold the textile...
The back peace
The front peace + pocket 
Those are the patterns and now I am showing some close up pictures.
Not a close up but this is what It looks from the back
Close up. Here you can see where I sewed the peaces together,
Lisää kuvateksti


The front
From the sides. As you can see it is not sewed together. 

This is from the inside. You can see how I sewed this on.
The top of the yellow part I sewed by hand. so you can't see it from the back.
OK that's all! If you need some specific help on sewing some parts together or anything just ask!❤️


lauantai 6. helmikuuta 2016

❤️Quidditch armor tutorial❤️

Hello! Today I am doing something different, a tutorial of how to make quidditch armor. I want to straight away say I am sorry I don't have progress pictures from the last steps but I will try to explain how I made them. I also want to encourage you to test out different techniques because there probably is something faster and more convenient way of making them. This is just how I made my armor~

1. First of all I made the patterns of the armor and modified them until I was happy how they looked. This took some time to figure out. When I was happy with the patterns I cut them out on craft foam.
2. For my armor I used leather from a jacket that I found at a thrift shop for quite cheap. I just placed the craft foam peaces on top and cut out peaces that were slightly bigger then the foam peaces. For the arm peace I cut out two peaces, one for the wrist/ hand part and one for the arm.
3. Because the armor has this "bumps" I just took an old t-shirt and cut some strips out of it. I rolled the peaces and glued them on the backside of the leather peaces. Here a pic:
4. After I had glued all the peaces I started to pin the leather peaces on to the foam peaces.(Don't forget to do this to the leg peaces also!) 
As you can see I made separate peaces for the hand parts
5. Then I just started to sew....and sew and sew.... This part was the most time consuming and left my fingers very hard. I recommend making the holes beforehand with some kind of bigger point( I used a small scissor) this way you don't hurt your fingers too much. I also recommend  looking some movies or tv shows at the same time...
sewing... I dont want to do that ever again.
 Here some pictures from when this part was done~

All of them done! Unfortunately we hove still some sewing to do....


This is what it looks like from the back


6. So it was this when I stopped taking pictures because I was starting to get on a hurry to finish them.... But the next step was to make the knee pads. I made them out of thicker foam that I first covered with leather. Here a drawing of the process ... I hope you can make some sense from it.....

7. Then I just sewed them on the knee parts.


This is a picture from when I already finished them I also made some small holes in the back of the craft foam so the peaces wouldn't be too stiff.

8. Now I started making the straps. I actually just cut some leather straps about 6 cm wide and glued the edges inside. I wound recommend sewing them but I didn't have time at the moment.


9. Then I just placed the straps where they belong: 3 In each arm , 2 On each leg and 2 on each knee part. And don't forget to make the other side where the straps are tightened and so on. I used glue and those paper holding things. as you can see on the pictures below: (again I would recomend sewing them)
I aded a small peace of leather to keep the straps on place. Like on a belt.
10. Then a made the beige parts. I used an old jacket I had laying around and took peaces that were a little to the side. I made my own bias tape like this. You can find tutorials on the internet on how to make bias tape so I am not going to b every specific how I did it. The good thing about bias tape is that it is very stretchy. I also cut some peaces to cover the craft foam in the back. Then I just sew everything on place:

11. And then I was finished! Yay! This was very time consuming! but I think it was worth the time!

I hope that This tutorial was helpful for someone! If you need help on something specific just write a comment down below!!❤️